AC Thermostat Not Working? Troubleshooting Guide
Aircon thermostat not working properly? Follow this step-by-step troubleshooting guide to fix temperature inaccuracies, unresponsive controls, and more.

Philips
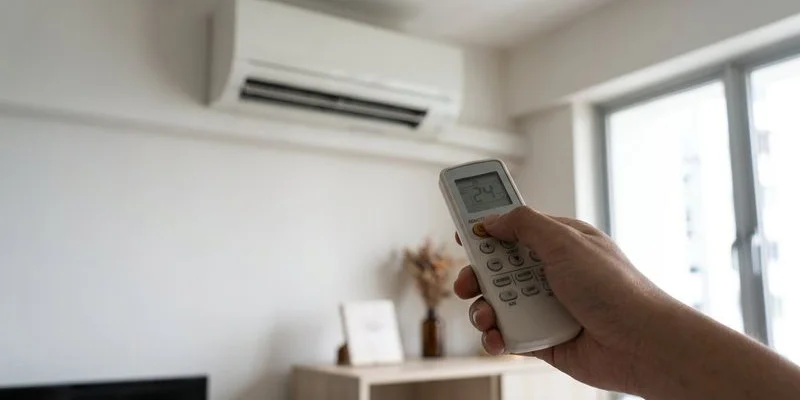
You set your cooling unit to 24°C, but the room feels like a stifling 28°C.
Or perhaps the opposite happens, and your space becomes freezing cold, leaving you searching for an “AC Thermostat Not Working? Troubleshooting Guide” online.
These frustrating temperature swings usually point to a single component failure.
We see this exact problem daily across Singapore homes and commercial businesses.
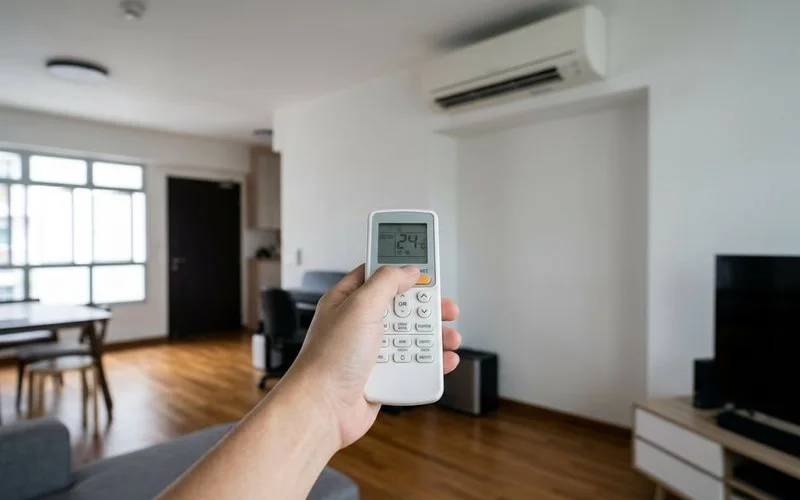
Most people assume the wall remote is the thermostat.
In modern split-system units, temperature control is actually a three-part communication chain.
It relies on an integrated system consisting of the thermistor sensor in the indoor unit, the printed circuit board (PCB), and the remote control.
Our technicians will break down how to identify the specific failure point.
The following guide explains exactly what the system data means and how to quickly restore your comfort.
AC Thermostat Not Working? Troubleshooting Guide
Step 1: Verify the Problem
Before assuming the internal parts are faulty, confirm there is an actual temperature discrepancy.
We always start by placing a reliable digital thermometer near the indoor unit’s return air intake.
A standard thermometer placed at seating height will not give an accurate reading of what the machine senses.
- Place a digital thermometer at the same height as the return air intake.
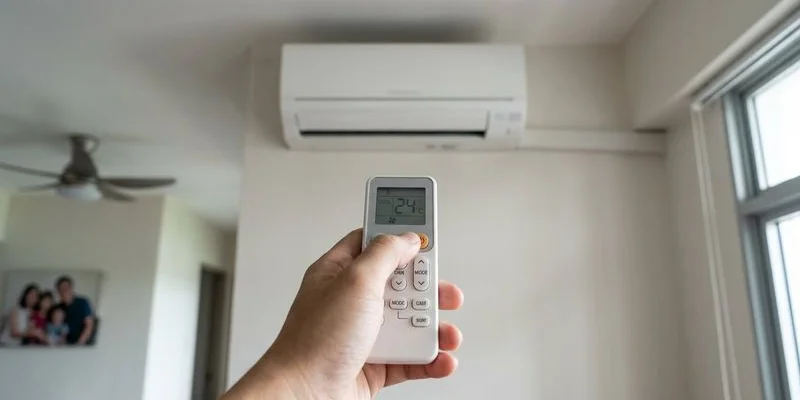
- Set the unit to cool mode, auto fan, and 25°C.
- Wait 30 minutes for the room to stabilise completely.
- Compare your thermometer reading to the set point.
The National Environment Agency (NEA) recommends setting your aircon to 25°C for optimal energy efficiency in Singapore.
Our service records show that a variance of 1 to 2°C is perfectly normal due to standard temperature stratification.
Warm air naturally rises to the ceiling where the unit sits.
A consistent difference of 3°C or more, wild fluctuations, or a room that never cools down indicate a clear component issue.
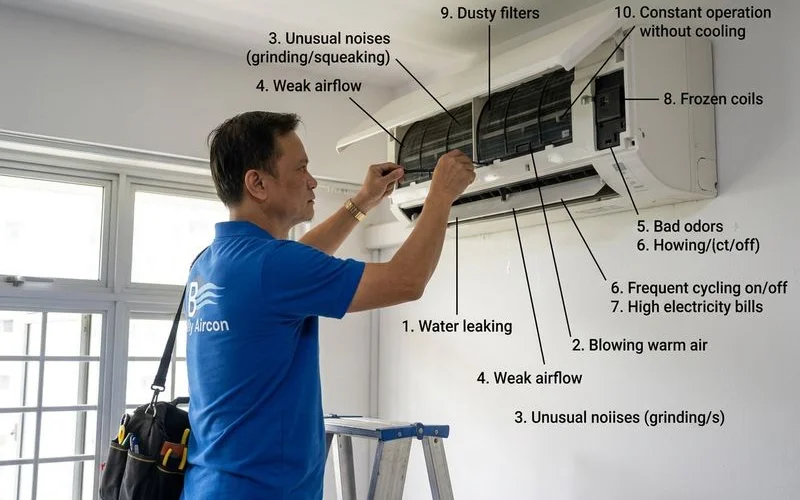
Step 2: Check the Basics
Eliminate simple causes before taking any electronics apart.
We find that basic maintenance resolves a surprising number of perceived part failures.
Here are the first things to inspect.
| Component | What to Check | Why It Matters |
|---|---|---|
| Remote Control | Replace batteries and test the infrared signal. | Weak batteries send intermittent commands to the PCB. |
| Air Filter | Inspect for thick dust buildup. | Blocked airflow traps stagnant air near the sensor. |
| Heat Sources | Look for lamps or electronics near the indoor unit. | Artificial heat tricks the machine into overcooling the room. |
| Room Sealing | Ensure all windows and doors are firmly shut. | Outside humidity overwhelms the cooling capacity. |
Our team resolves about 20% of cooling complaints simply by washing the dust screens.
For typical HDB flats running the unit nightly, wiping down the filter every two weeks prevents the sensor from getting smothered.
Step 3: Test Temperature Response
After clearing the basic checks, test whether the control board is actually reacting to commands.
We use a simple high-low test to force the compressor to cycle.
This reveals if the internal communication chain is broken.
- Set the remote to the lowest setting, which is usually 16°C.
- Listen for the outdoor compressor to start and run continuously.
- Wait exactly 10 minutes.
- Change the setting to the highest option, typically 30°C.
- Confirm the compressor stops within three minutes.
If the compressor ignores these extreme changes, the issue is likely a dead sensor or a failed PCB.
Our diagnostics frequently trace a non-responsive compressor straight back to damaged wiring between these two parts.
Conversely, if the machine responds but overcools the room, the probe has probably drifted out of factory calibration.
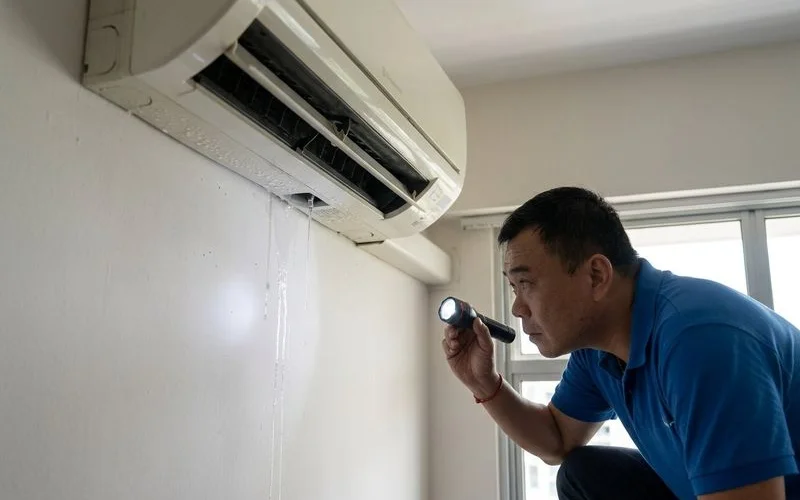
Step 4: Check for Sensor Obstruction
The room temperature sensor is a small probe usually located behind the front panel or along the intake grille.
We frequently discover these probes buried under thick layers of grime.
Even a thin coating of dust acts as a thermal blanket, causing delayed and highly inaccurate readings.
”A displaced sensor probe is one of the most common faults found after DIY cleaning. If the probe gets knocked out of its mounting clip, it will measure the plastic casing’s temperature instead of the room air.”
Check the evaporator coil for any signs of frost or solid ice.
Our technicians often see partial freezing caused by low refrigerant or poor insulation.
This localized cold air constantly hits the probe, tricking the system into shutting down prematurely.
Step 5: Evaluate the Remote Display
Many modern systems display error codes or current room temperatures directly on the LCD screen.
We use these built-in diagnostics to fast-track the repair process.
Pay close attention to blinking lights on the indoor unit, as these are specific fault indicators.
- Daikin Units: An error code of “C4” points to a faulty heat exchanger sensor, while “J6” indicates a room sensor failure.
- Mitsubishi Starmex: Count the blinking operation lights. Two continuous blinks typically mean the indoor thermistor is broken.
- Mitsubishi Heavy Industries: Look for specific alphanumeric codes like “E6” on the remote display.
If your remote shows the room is 35°C when it is clearly comfortable, the component is completely shot.
Our process involves cross-referencing these codes with manual multimeter tests to guarantee accuracy.
A PCB failure is likely if the remote shows the correct ambient temperature but the unit refuses to cool.
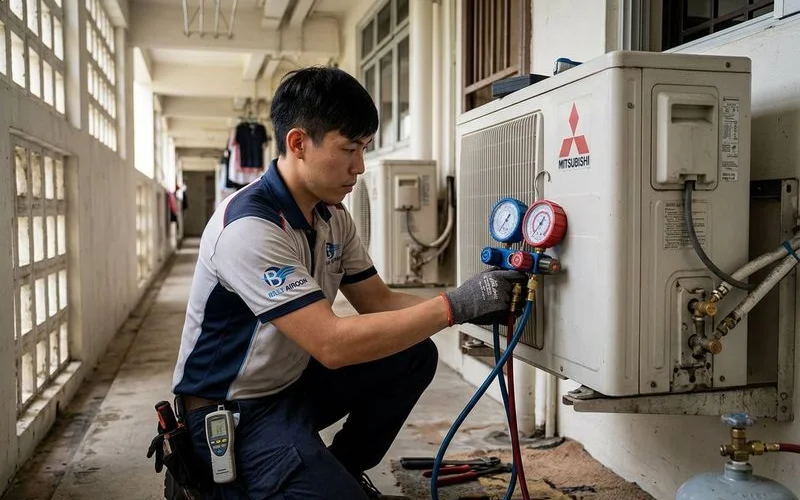
Step 6: Professional Diagnosis
When simple resets fail to clear the error, you need specialised testing equipment.
We utilize digital multimeters to measure the exact electrical resistance of the probe.
A standard aircon thermistor should read approximately 10k Ohms at 25°C.
- Thermistor Testing: Technicians compare the current resistance against the manufacturer’s specified curve.
- PCB Inspection: Experts examine the main board for scorch marks or blown capacitors caused by power surges.
- Wiring Check: Professionals inspect the connecting harnesses for loose pins or corrosion.
Replacing a drifted sensor is the most frequent and affordable fix for these inaccuracies.
Our repair vans carry replacement probes for all major brands to ensure same-day resolution.
Fixing a damaged main board requires more time and usually involves ordering a specific replacement part directly from the manufacturer.
Common Thermostat Problems and Solutions
Identifying the exact symptom helps determine the final repair cost.
We compile pricing data annually to give property owners clear expectations.
The table below outlines standard market rates in Singapore for 2026.
| Problem Symptom | Likely Component Cause | Required Solution | Estimated Cost (SGD) |
|---|---|---|---|
| Room stays warm at set temp | Sensor reads temperature too low | Replace room thermistor | $80 to $150 |
| Room turns freezing cold | Sensor reads temperature too high | Replace room thermistor | $80 to $150 |
| Compressor short cycling | Intermittent electrical short | Repair wiring or replace sensor | $80 to $150 |
| Unit refuses to start | Sensor has an open circuit | Replace main thermistor | $80 to $150 |
| Erratic temperature swings | Loose connector on the PCB | Re-seat and secure the harness | $50 to $80 |
| Evaporator coil freezing | Faulty pipe temperature sensor | Replace coil thermistor | $80 to $150 |
Prices vary slightly depending on whether you own a standard wall unit or a larger ceiling cassette.
Our quoted rates always include the diagnostic fee, the new part, and the installation labour.
Always request original manufacturer parts to ensure the resistance curve matches your specific model perfectly.
When the Problem Isn’t the Thermostat
Certain mechanical failures mimic sensor problems perfectly.
We frequently arrive at homes expecting a quick electronic fix, only to discover a completely different underlying issue.
Be aware of these common alternative culprits.
- Low Refrigerant: The system cannot extract heat, making it seem like the thermostat isn’t reaching the set point, but you actually have a gas leak.
- Undersized Unit: A 9,000 BTU unit placed in a massive living room will run constantly without ever achieving the target temperature.
- Dirty Condenser Coil: A blocked outdoor unit cannot reject heat properly. Booking a comprehensive chemical wash restores this lost capacity.
- Compressor Weakness: An aging motor loses pumping power and fails to compress the R32 or R410a refrigerant gas effectively.
Gas leaks are far more common than electronic failures in units older than five years.
Our pressure gauges quickly determine if the system is starved of refrigerant.
Regular maintenance helps catch these mechanical declines long before they cause a total breakdown.
Prevention
Protecting your internal electronics requires consistent care and a clean environment.
We recommend scheduling quarterly aircon servicing for heavily used residential systems.
Regular cleaning stops thick dust from insulating the delicate probes.
”A well-maintained sensor will easily last the entire lifespan of the air conditioner. Neglecting filter changes is the fastest way to force a premature replacement.”
During routine visits, technicians will flush the drainage pans and verify the PCB responds accurately to remote commands.
Our preventative checklists specifically include inspecting the wiring harnesses for early signs of corrosion.
If you notice the room feeling warmer than usual, do not just lower the temperature setting to compensate.
Ignoring minor temperature discrepancies will eventually cause your compressor to overheat from excessive strain.
These sensor drifts only get worse over time, driving up your monthly electricity bills.
Keep this “AC Thermostat Not Working? Troubleshooting Guide” handy for future reference.
Contact Billy Aircon today for a fast and accurate diagnostic check.
We will locate the exact fault, install the correct replacement part, and restore perfect cooling to your home. Quality aircon servicing in Singapore prevents most thermostat issues from ever developing.
Need Professional Aircon Help?
Our experienced technicians are ready to help. WhatsApp us for a fast response — 24 hours guaranteed.
WhatsApp Us Now